baking, dessert, recipe

Rock’s post: maple pecan bundt cake

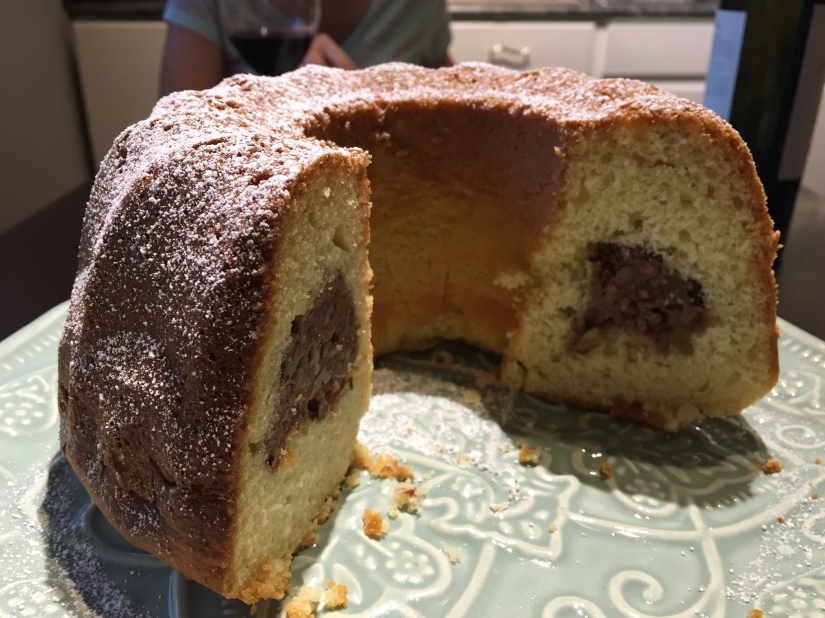
The original name for the post was “Julie’s dinner cake” but the administration of the blog did not approved it…  So we were invited to our friend Julie’s for dinner and she requested a cake.  We are doing a lot of cleaning/tidying lately and we found a bundt cake pan.  No need to say that this invitation was the perfect occasion to bake a bundt cake!  This cake is from one of our Nigella Lawson books and has a special maple pecan filling in the middle.

For the maple pecan filling:

75g plain flour / 30g soft unsalted butter / 1 tsp cinnamon / 150g chopped pecans / 125 ml maple sirup

For the cake:

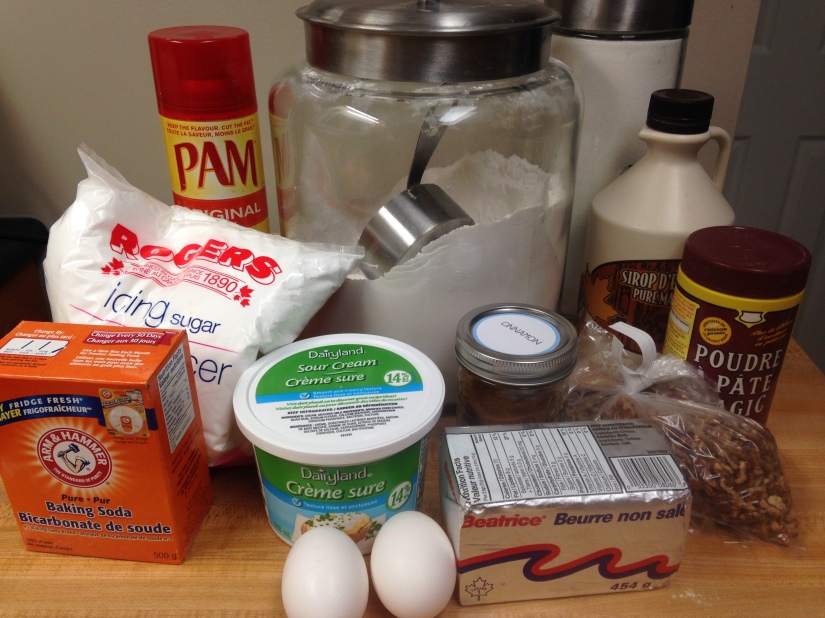
300g plain flour /  1tsp of baking powder / 1tsp bicarbonate of sofa / 125g soft unsalted butter / 150g sugar / 2 eggs / 250ml sour cream / about 1 tsp icing sugar for decoration

IMG_5039

Preheat the oven to 350F.  Use a flavour less oil, we use some PAM, to very lightly grease a 23cm bundt cake tin and leave it upside down, the excess of oil will drip away.

To make the filling, mix 75g of flour with 30 g of butter with a fork until you end up with a granola texture mixture.  Then add the cinnamon, the pecan and maple sirup to form a sticky, very tasty paste.  You can set aside.

Now for the cake portion, mix in a bowl 300g of flour, the baking powder and bicarbonate if soda.

Cream the butter and the sugar until  it is light in texture and light in colour.  Then beat in 1 tbsp of the flour mixture, then 1 egg, then another tables spoon full of the flour mixture and the last egg.  Add the remaining of the flour and, finally, the sour cream.  The result is a very thick cake batter.

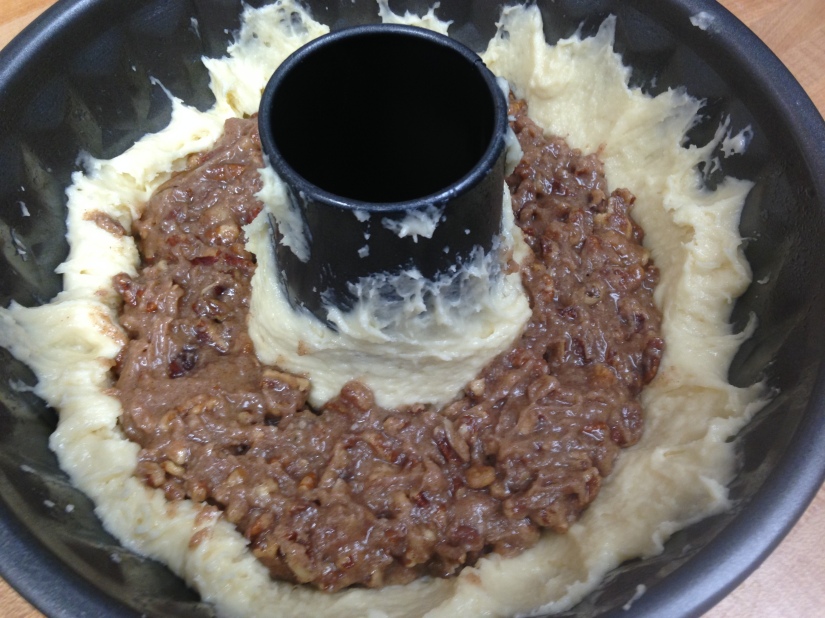
Now it is time to put the cake together.  Spoon a little bit more than half the batter into the bundt tin.  Spread the mixture up the sides and around the funnel.  We are forming a holding cavity for the filling.  You don’t want any filling to touch the sides of the tin.

IMG_5041

With gentle care, set the filling in the rim then cover it with the remaining batter.  Smooth the top and set the cake into the oven for 40 minutes.  We started checking the cake after 35 min with an uncooked spaghetti noodle.  If the spaghetti comes out clean, the cake is ready.

Once cook, let the cake cool for 15 minutes in the tin.  Then loosen the edges with a knife, don’t forget the funnel part!  Now the tricky part, you need to turn the cake out onto the rack.

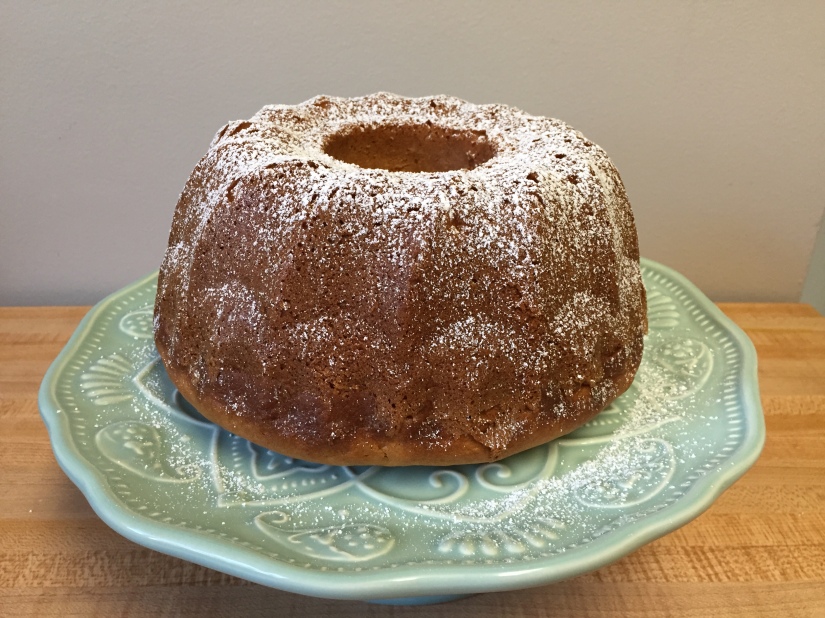
When the cake is totally cold, dust with the icing sugar with a sifter.

image1-3

image2-3

The cake can be made for couple day in advance and it will be just as good!  Just wrap it in plastic wrap and dust with the icing sugar just before eating.

Enjoy

cooking, recipe

my brie burger

It was at the Royal Eatery (one of my top 3 burger places in the entire world!!) when I was living in Cape Town that I was first introduced to the yumminess that is a burger topped with brie.  Come to think of it, I’ve never had brie burgers anywhere else but that’s OK ‘cus now I make them myself!  In addition to the brie, I top these with caramelized onions and roasted garlic mayo and it is so good.

This makes 4 burgers.

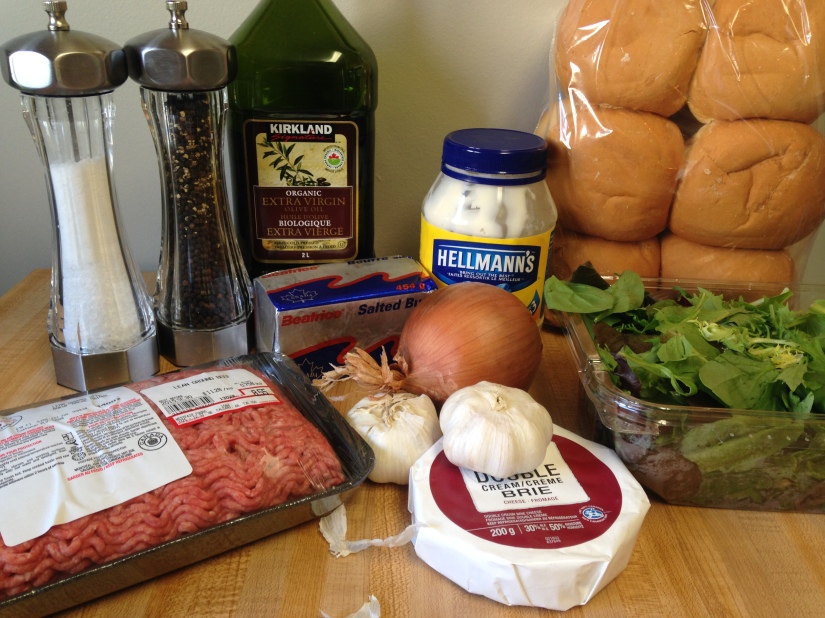
1 package of lean ground beef (At our grocery store they only sell the beef in ~750g packages and this will make either 4 pretty huge burgers or 6 more ‘regular’ sized burgers)  /  200g brie (cut into slices)  /  1 yellow onion  /  2 heads of garlic  /  ~ 1 heaped tbsp butter  /  olive oil  /  ~ 3 heaped tbsp mayonnaise (preferably Hellman’s!)  /  mixed greens  /  best burger buns you can find (or make)  /  salt and pepper

IMG_5100

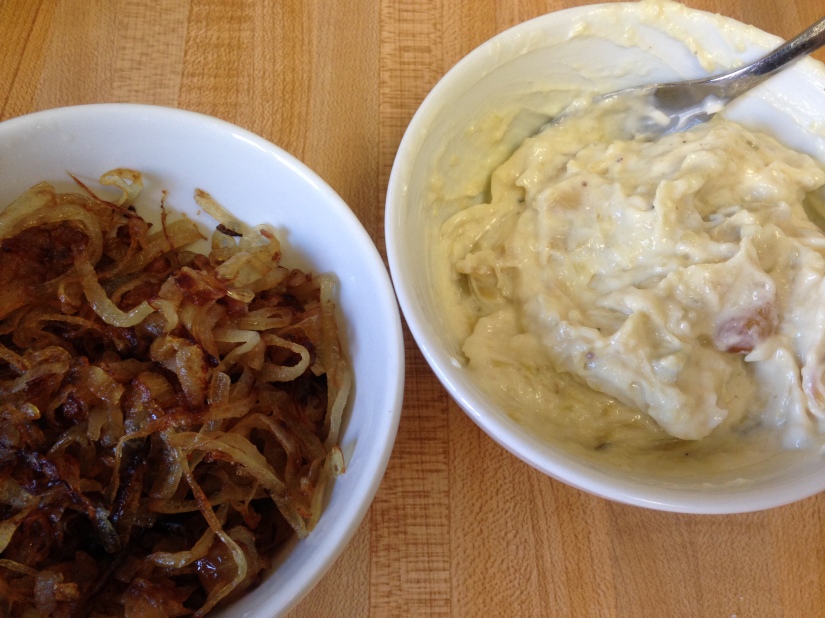
The only thing that really takes any effort for this burger is prepping the toppings.  Preheat the oven to 400F and just slice off the very top of the heads of garlic.  Place the garlic in the middle of a piece of aluminum foil and season with salt and pepper.  Drizzle over some olive oil, maybe about a tablespoon or so and then tightly wrap up in the foil to form a packet.  Toss into the oven and let it roast away for about 40 minutes and it will become fork-tender.  In the meantime, you can caramelize your onion.  Halve the onion and slice thinly.  In a pan over medium heat, throw in the onion, the butter and a splash of oil to keep the butter from burning.  Season with some salt and pepper and let the onions slowly caramelize.  This takes some patience and you do have to give the onions a stir rather frequently so that the onions don’t brown too quickly or burn.  They’re done when they’re very soft and have taken on a nice caramel colour.

While the garlic is still roasting, you can form your burger patties.  I don’t like to add anything to my patties, I just roll each portion of beef into a ball and then gently flatten them.  Just make sure they’re flat enough that they don’t shrink up into somewhat of a fat ball when they’re cooking. We barbecued our burgers and if you want to do the same, you could start up your barbecue now so that it’s nice and hot when you’re ready to start cooking.

When the garlic is finished roasting, open up the foil and let them cool down a bit before plucking out the cloves with your fingers.  In a small bowl, mix the garlic with the mayonnaise to make your roasted garlic mayo.

IMG_5101

Now, cook your burger patties!  Right before you place them on the grill, season well with salt and pepper.  I don’t think I need to tell you how to barbecue a burger so… barbecue on both sides and a few minutes before it’s cooked to your liking, top with the brie so that it can melt.  Alternately you can cook your burgers in a frying pan, burgers are great any way they’re cooked if you ask me!  Right before they’re done, slice up your burger buns and give them a bit of a toast.

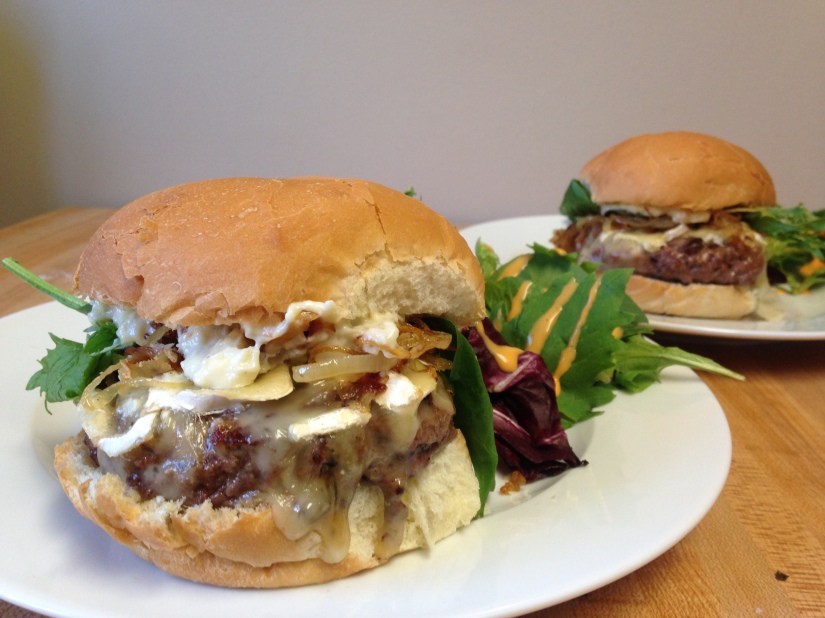
Then it’s time to stack it all together.  Bun, brie-topped patty, caramelized onions, some mixed greens and then the top bun with a generous amount of the roasted garlic mayo smeared on.  And chow down!

IMG_5103

baking, recipe

best chocolate chip cookies

I had a real hankering for chocolate chip cookies all week and it was practically like destiny that we would have to make some as an older Nigella Lawson cookbook that I’d ordered had just arrived and it happened to have a chocolate chip cookie recipe in it.  In the book she writes that while chocolate chip cookies are never difficult to make, they’re just difficult to get right and this was her tried and true recipe.  Well alright then!

Makes about 1 and a half dozen cookies.

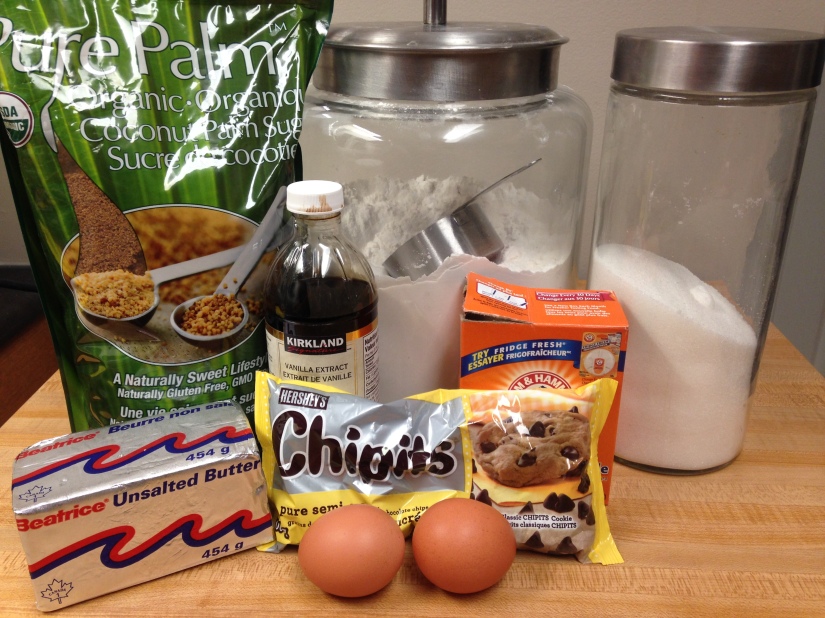
150 grams room temperature unsalted butter  /  125 g coconut palm sugar (in her recipe she says to use brown sugar but we really wanted to try it with the coconut which is supposedly ‘healthier’ than regular sugars)  /  100 g sugar  /  1 whole egg (that must be cold straight out of the fridge)  /  1 egg yolk (also cold)  /  2 tsp vanilla extract  /  300 g all purpose flour  /  1/2 tsp baking soda  /  1 packet semi-sweet chocolate chips (300 g)

IMG_4997

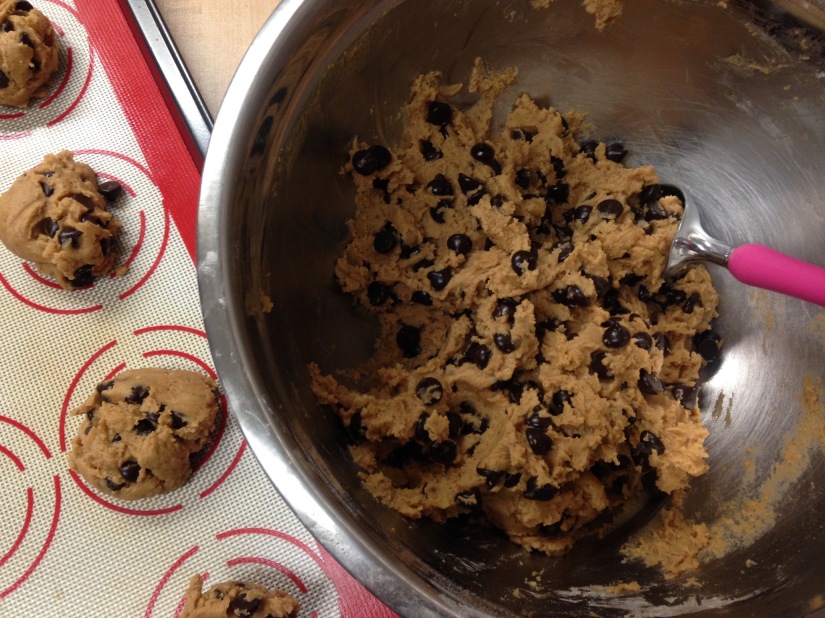
Preheat oven to 350F and line a large baking sheet with either parchment or a silicone baking sheet.  Melt the butter either in the microwave or as Rock did, in a measuring cup which he sat in the sink filled with hot water.  (I thought he did that ‘cus the recipe told him so but apparently it was all his own doing!)  In a mixing bowl, beat together the coconut sugar, regular sugar and melted butter which you have let slightly cool.  Next, beat in the vanilla, egg and egg yolk until creamy.  Now mix in the flour and baking soda but only until it has just all come together and then fold in the chocolate chips.  Use an ice cream scoop (or a 1/4 measuring cup) to measure out and shape the cookies and then space them out on the baking sheet roughly 8 cm apart as they will spread out as they bake.

FullSizeRender

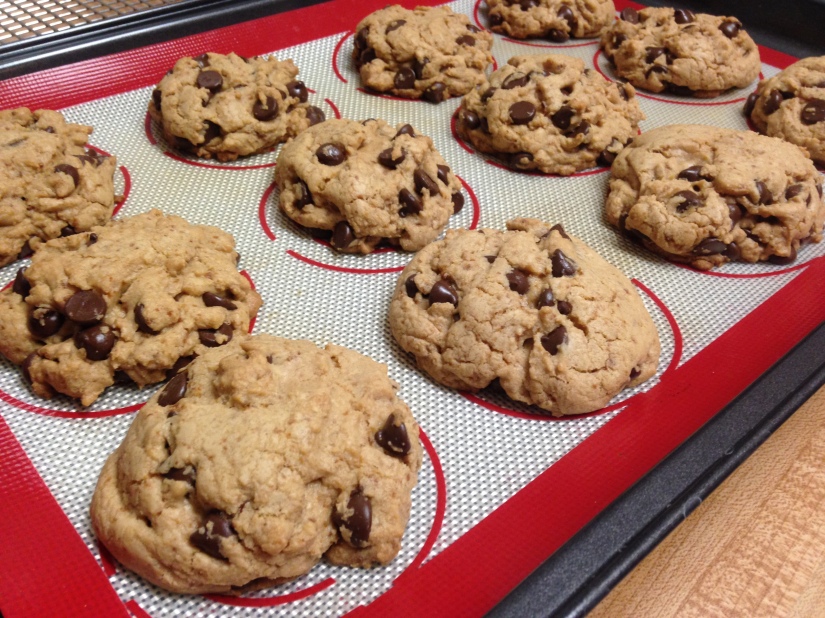
We baked ours in 2 batches and while the first was baking, we stuck the rest of the dough in the fridge to keep cold.  Bake for about 13 to 15 minutes or until the edges of the cookies are just ever so slightly starting to get golden.  Let the cookies sit on the baking sheet for about 5 minutes and then move them onto a wire cooling rack (though we ate a couple before they made it onto the rack!)  These cookies turned out soooooo good.  And substituting the brown sugar with coconut sugar worked great, which we weren’t really sure if it would.  Yay!  Thanks Nigella!

IMG_5001

baking, breakfast, dessert, recipes

Rock’s post: Pain au Raisin (Danish Pastries)

There is some difference between french Canadian and the french from France.  What we call “danoise” in Quebec is actually called “pain au raisin” in France.  Our friend Krista is dating a french, Alex who is very nice guy,  and  she asked me to pick up a “pain au raisin” for her…  I could not find it so a brought a “danoise”.  So now I bake some very good danoise but today I will call it pain au raisin for her.

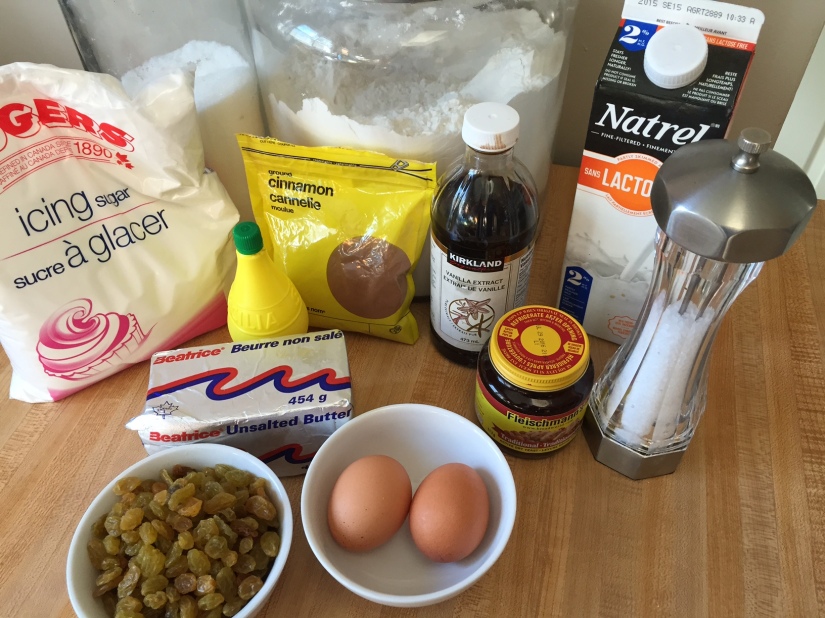
20 gr of yeast  /  625 g of strong white flour plus extra for dusting  /  1.5 tsp of salt  /  75 g of caster sugar  /  500 g of butter  /  water to mix  /

For the filling:  250 g of sultanas or raisins  /  1.5 tbsp of cinnamon  /  1 egg beaten for eggwash  /  100 g of marmalade or apricot jam

For the custard:  2 cups of milk  /  2 egg yolks  /  0.5 cup of sugar  /  1 tbsp of flour  /  1 tsp of vanilla extract

Icing sugar for presentation

image1-2

The dough is actually my croissant dough recipe.  Don’t need to go back reviewing the old post,  I write it for you again:

Dilute the yeast in warm water.  In a large bowl, put the flour, salt and sugar.  Using a wooden spoon, slowly mix with the yeast water until the dough becomes pliable.  Add water is required to reach the pliable stage.  Set the dough on a lightly flour surface and knead until it feels elastic.  Put the dough back in the bowl and put in the fridge for a hour.

This is the right time to make the custard.  This is a very easy way to make a tasteful custard.  Heat the milk in a sauce pan while stirring until it almost boils.  Remove from the heat.  In a separate bowl, mix the eggs, sugar and flour until to get a consistent mixture, it will look like a yellow paste.  Whisk it in the hot milk.  Cook over medium heat, don’t stop whisking., until it comes to a simmer.  Cook for one more minute or until of get a very creamy texture.  Add the vanilla.  At that point I added the cinnamon too, the result was a very nice custard but next time I won’t add the cinnamon in the custard.  I will just sprinkle the cinnamon over the pain au raisin before baking instead.  Put the custard in the fridge until the last step of the pastry.

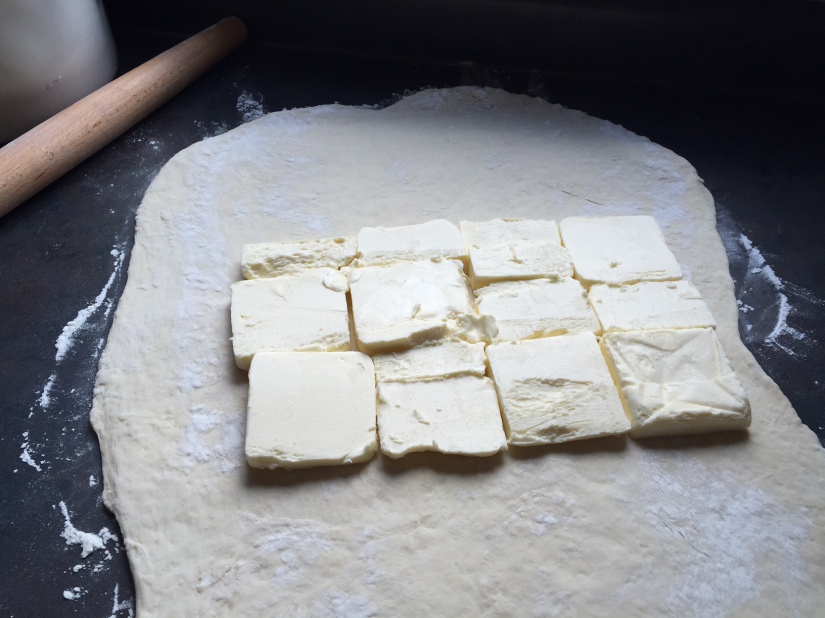
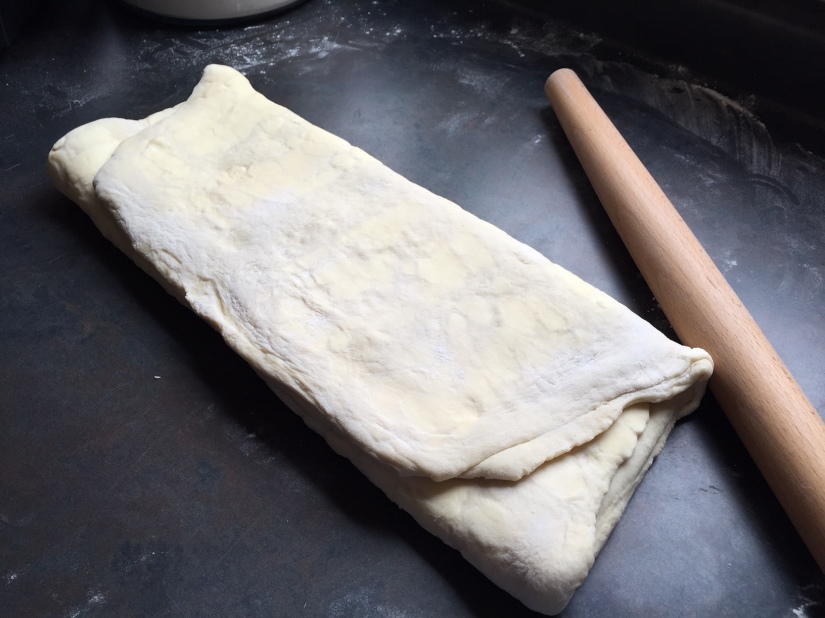
Get back to the dough.  Take the chilled dough out of the fridge to the lightly flour surface and roll it into a rectangle 60 x 31 cm.  Take the butter, split it 1 cm thick slices, set on the middle third of the flattened dough.  Bring the uncovered third of the dough over the centre third and then fold the other third over, like the way you fold a letter.   So now you have three layers of dough.  Return the dough in the fridge for a hour.

image2-2

image5

After the waiting, flatten the dough in the rectangular shape again, turn it 90 degree and fold it again in three layers.  You will need to repeat the process  three more times.  After the last time, return the dough in the fridge for the night (about 8 hours).

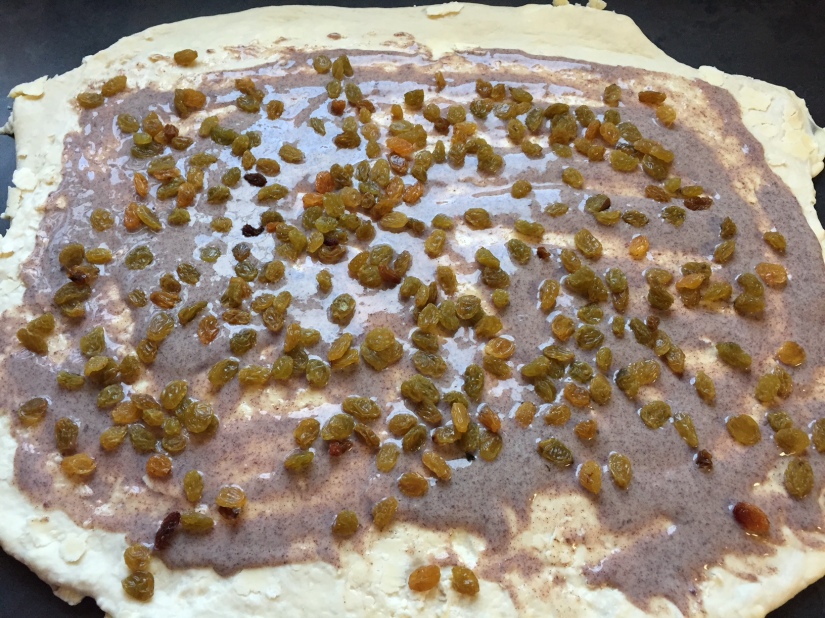
The next morning, flatten the dough in 3mm thick rectangular.  Spread the custard over and sprinkle with sultanas, raisins and cinnamon.  Roll the dough in a nice log.  Cut the log into 2.5 cm thick slices.  Set on a baking sheet to rise for 90 minutes.

image4

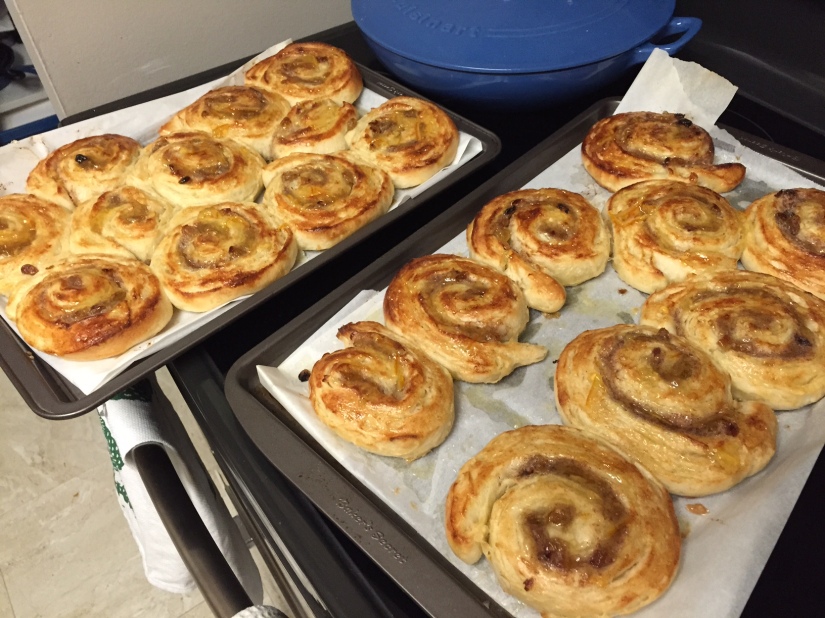
Preheat the oven to 400F.  Brush the pain au raisin with the egg wash and bake for 10 to 15 minutes until golden brown.  Transfer to a cooling rack and brush with marmalade jam.  The real recipe is made with apricot jam but I just really like marmalade…  When the pastries are cool, you can sprinkle some icing sugar over them or make a simple icing sugar mix with water.

Like the croissant, you need to start the process the day before, but you won’t work in vain, the result is an amazing pastries…

image1

baking, Food, recipe

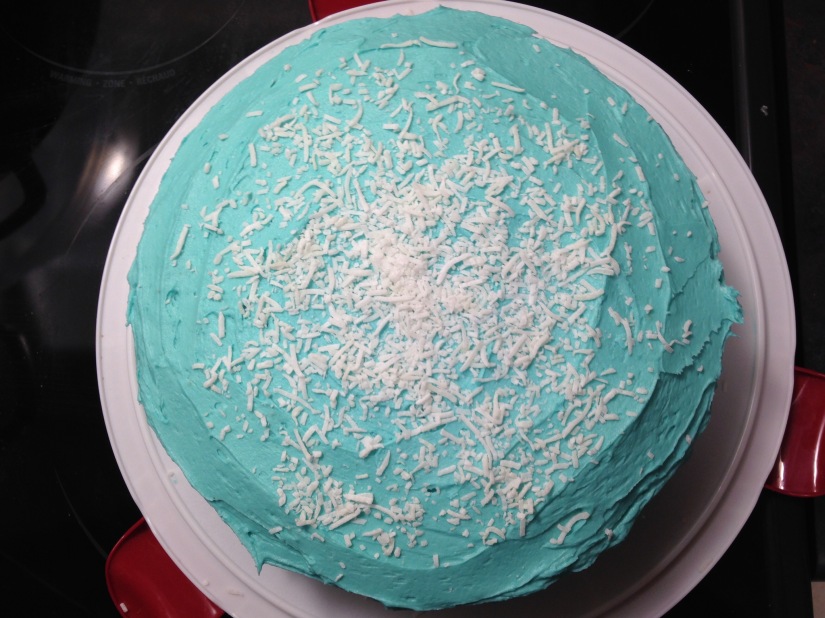
blue hawaii cake

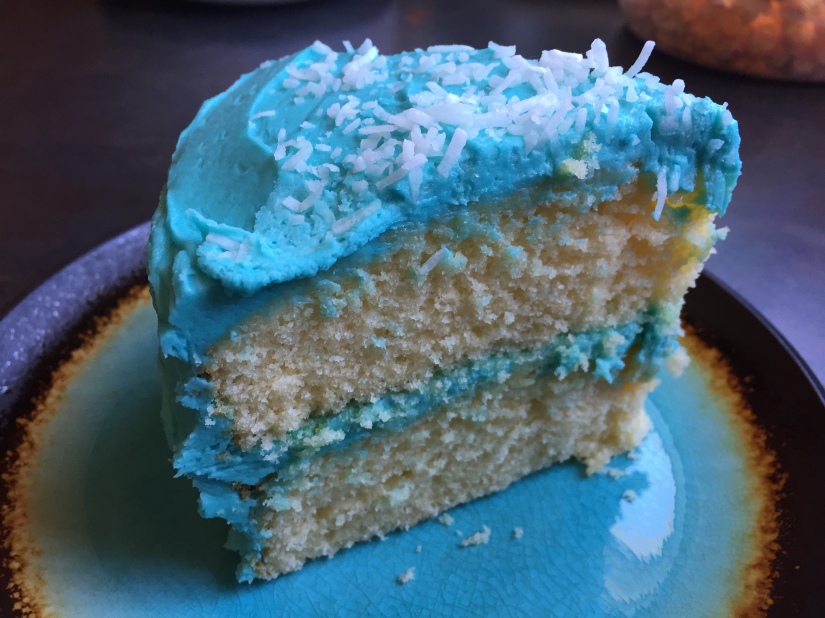
I made this cake for Rock’s birthday a few months back and was inspired by the ‘Blue Hawaii’ cupcake from Cupcakes back home in Vancouver.  The Blue Hawaii is a coconut cupcake very generously frosted with blue vanilla buttercream and with some coconut sprinkled on top.  (Blue Hawaii, if you didn’t already know, is also an awesome Elvis Presley movie.  I love Elvis.  Perhaps you would like to listen to the soundtrack while whipping up this cake…)   I wanted to eat that cupcake and I liked the idea of a blue birthday cake so off I went!  It looks like most coconut cake recipes call for flaked coconut in the cake itself and are pretty heavy on the coconut overall (fair enough) but that’s not really what I wanted so I decided to riff on a white cake recipe that I have used before.

for the cake:  1 cup unsalted butter, room temperature  /  1/2 cup vegetable shortening  /  2 and 1/2 cups sugar  /  5 large eggs, room temperature  /  3 cups all-purpose flour  /  2 tsp baking powder  /  1/4 tsp salt  /  1 cup milk (at least 2%)  /  1 tsp vanilla extract /  1 tsp coconut extract

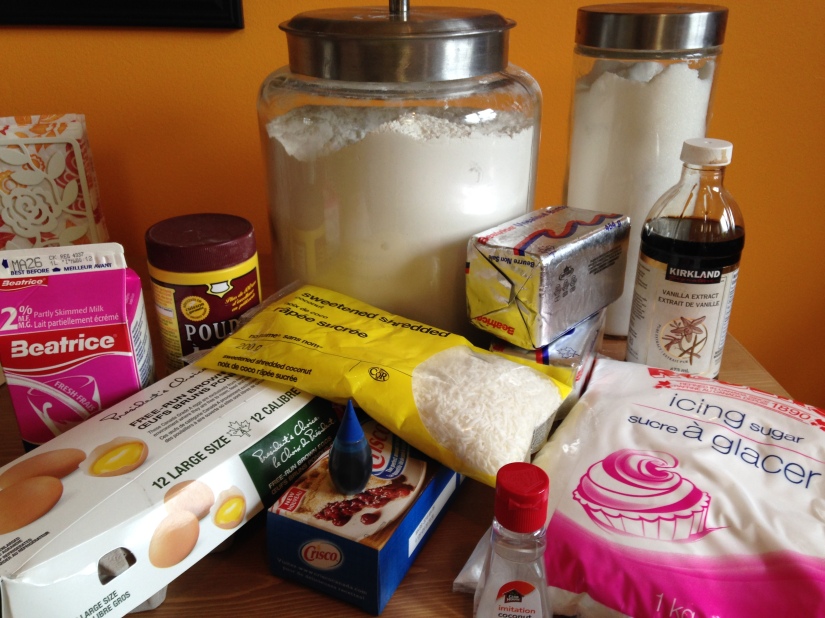
for the frosting:  2 cups unsalted butter, room temperature  /  6-8 cups icing sugar /  3 tsp vanilla extract  /  blue food colouring  /  sweetened shredded coconut for sprinkling on top

IMG_4087-2

Preheat the oven to 350F and line the bottoms of two 9 inch round springform cake pans with parchment paper.  In a stand mixer, cream together the butter and shortening until it’s a bit fluffy and then slowly mix in one cup of sugar at a time.  Next, mix in 1 egg at a time.  Sift the flour, baking powder and salt together into another bowl.  In a separate small bowl, combine the vanilla and coconut extracts with the milk.  Slowly mix into the butter mixture 1/3 of the dry ingredients, then 1/2 of the wet ingredients, then another 1/3 of the dry, then the rest of the wet, and then the final 1/3 of the dry until you have a smooth cake batter.

Spread the batter evenly into the 2 cake pans and pop into the oven for about 30 to 35 minutes or until a toothpick/uncooked spaghetti noodle comes clean out of the centre.  While the cakes are cooling, whip up the buttercream frosting.  Using the mixer, cream the butter until it is smooth and kind of fluffy.  Next, mix in the icing sugar, 1 cup at a time, until you get a nice smooth frosting.  You may want to use less/more icing sugar depending on what consistency of buttercream you like.  Then, mix in the vanilla extract and the blue food colouring.  I used a lot more food colouring than I thought I would need to.  At first I was counting the drops I was putting in but then I just gave that up and kept adding in more until I got the shade of blue I wanted.  So basically, just add as much food colouring as you want until you get your desired hue!

When the cakes are cool to the touch, you can stack and frost them.  First, frost the bottom cake with about half the frosting.  Then flip the second cake upside down and stack onto the bottom cake and frost with the rest of the frosting.  (This webpage provides a good guide for frosting a two layer cake.)  And finally, sprinkle some of the shredded coconut over top and voila!  It tasted pretty much just like the cupcake and more importantly, Rock loved his birthday cake!

FullSizeRender-3

IMG_4440

Food, recipes

kolkovna’s greek salad

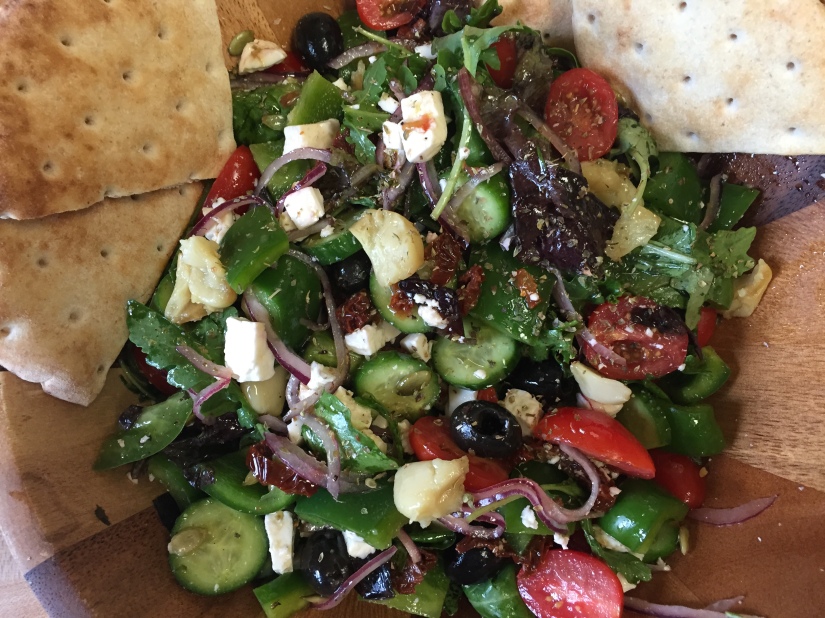
I had the best greek salad ever in Prague this summer.  We were staying in an airbnb in the Holešovice district and there just happened to be a recently opened restaurant, Kolkovna Argentinská right next door to our apartment block.  One day I decided my steady diet of heavy meats, carbs and deep-fried cheeses at the time should probably be balanced out a tiny bit with some greens.  So I ordered a greek salad at Kolkovna and it was amazing.  The salad had sun-dried tomatoes and roasted garlic in it and I just remember thinking, this is absolutely genius.  I wish I had taken a photo of it so that I could recall exactly what else was in it.  In any case, this is my take on it.

This makes enough for 2-3 people as an entree salad or alternatively you could serve it as a side.

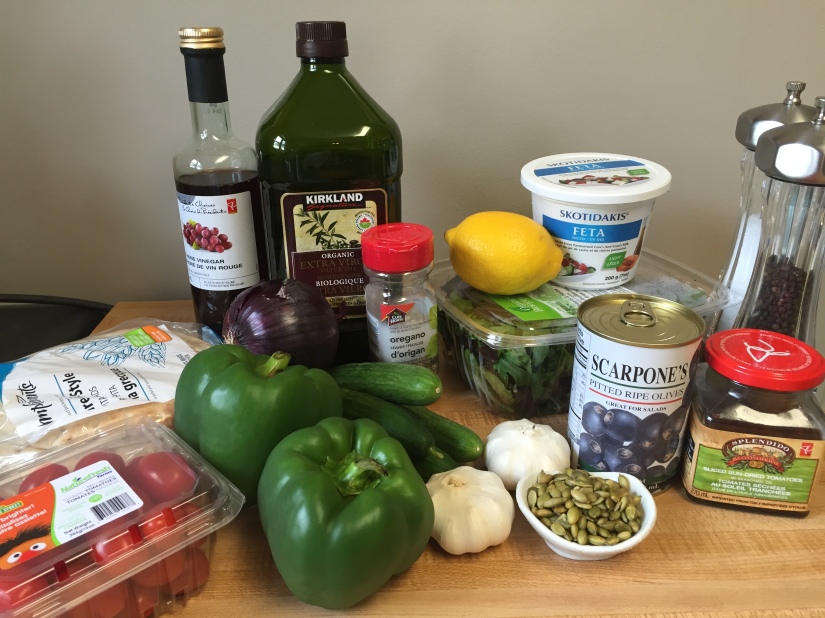
2 green peppers  /  1 English cucumber (or about 4 mini ones which is what I had on hand)  /  ~ 2 large handfuls of grape or cherry tomatoes  /  a handful of roasted sunflower seeds  /  ~1/3 cup sliced sun-dried tomatoes  /  2 heads of roasted garlic  /  ~2 large handfuls of mixed greens  /  1/2 a tin of pitted black olives  /  1/4 small red onion  /  ~1 cup feta cheese, crumbled or shredded  /  1 greek-style pita

for the dressing:  1/4 cup red wine vinegar  /  3/4 cup extra virgin olive oil  /  juice from 1 small lemon  /  ~ 1 tbsp dried oregano  /  salt and pepper to taste  (*this makes way more than enough dressing for this salad so you can either keep the rest in the fridge or make less.  Just use the ratio of 1 part vinegar to 3 parts oil and adjust seasoning accordingly!)

IMG_5372

Roughly chop up the peppers and the cucumber into small bite size pieces and halve the grape tomatoes.  Slice the red onion as thinly as you can.  Toss these veggies into a large salad bowl along with the olives, sun-dried tomatoes, mixed greens, and sunflower seeds.  Then in a measuring cup, mix together all the ingredients for the dressing.  Toss some of the dressing in with the salad and when everything is pretty well mixed together and dressed, scatter over the cloves of the roasted garlic and give a gentle toss. (You just don’t want to mix the garlic in beforehand as to avoid smushing them all up!).  Quarter the pita bread, give them a toast and then serve alongside the salad.

IMG_5376

Hands down my absolute favourite greek salad!

Food, recipes

obatzda: bavarian cheese

It’s been months since I last blogged and it’s because we haven’t really been home at all!  We spent 5 weeks travelling around in Europe (with a 6 month old baby at that!) and then spent the rest of the summer at home in Vancouver.  But now we are all settled back in Moose Jaw and I’m aiming to blog more consistently.

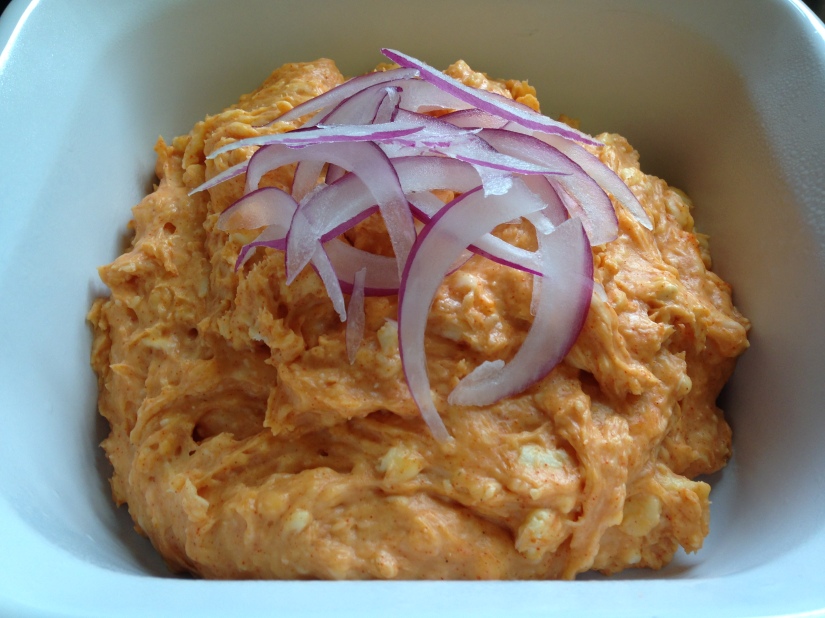
I made this cheese dip/spread back in July as I tried to recreate one of the obatzda we picked up from the Viktualienmarkt in Munich.  I remember asking at the various cheese stalls, pointing at the obatzda, what it was exactly and responses we got were things like “Bavarian cheese,” “special cheese” and “cheese with butter.”  That all sounded good to us!  Anyway, there seems to be a lot of variations on how to make this and whenever I find that’s the case with a new dish I wanna try making, I get overwhelmed and decide to just wing it as to try and get it as close as possible to how I remember it.

600 grams camembert (2 small wheels)  /  1/2 cup butter, room temperature  /  1/2 cup cream cheese, room temperature  /  1 tsp sweet paprika  /  1 tsp hot paprika  /  a pinch or two of salt  /  ~1/4 red onion (optional)

Using a sharp knife, remove the rind from the camembert.  No need to be particularly diligent about it though; I think it’s actually better with some bits of rind left on.  Just a note, I had the cheese out at room temperature but then it was actually quite difficult to remove the rind since the cheese was so soft.  It would probably be better to have the cheese still a little bit chilled from the fridge. Then just roughly cube up the cheese into about 1 inch pieces.  In a medium mixing bowl, combine the butter, cream cheese, paprikas and salt until smooth.  Then toss in the camembert and mix.  You don’t want it totally smooth but still with a bit of texture from the camembert in there.

And that’s it!  It seems like most obatzda has a lot of red onion in it but I really don’t like the taste of raw onion (whereas Rock does) so I just thinly sliced some up to top with.  If you want you can mix in finely diced red onion and/or sliced up chives; up to you!  This turned out exactly the way I wanted it to so I’m very happy with it.  Serve with baked German pretzels or a bag of the little crunchy pretzels.  Enjoy!

IMG_4447