cornflake chicken strips
cooking, Food, recipe, Uncategorized

cornflake chicken strips

A friend sent me a recipe for cornflake chicken awhile back saying it was one of her kids’ favourite meals.  I think I misread the directions in the recipe, but they turned out to be chicken strips – and my kids LOVED them!  This isn’t that exact recipe but it doesn’t matter because my kids still love these and actually beg me to make them.  Definitely healthier than frozen chicken strips as they’re coated with cornflakes instead of breading and they are baked.  But still satisfyingly crunchy and yummy!

450 grams skinless, boneless chicken breasts / 2 eggs / 3/4 cup all-purpose flour / 1 tsp garlic powder / 1 and 1/2 tsp seasoned salt / 1 tsp paprika / 1/4 tsp cayenne pepper / 2 cups cornflakes

IMG_3043

First, preheat the oven to 400 F and then move onto all the prep. In a dish or a shallow bowl, lightly scramble the eggs and set aside.  On a large plate, combine the flour, garlic powder, seasoned salt, paprika and cayenne.  On another large plate, crush up the cornflakes just with your hands.  Then for the chicken breasts, cut lengthwise into strips.

IMG_3046

Now, to coat the chicken.  For each strip, first dredge the chicken the flour mixture to coat evenly.  Then, dip into the egg until also coated and then press into the crushed cornflakes on both sides.  After coating each strip, place on a parchment paper-lined baking sheet and continue with all the chicken until done.

IMG_3048

Pop into the oven for 20 minutes – the chicken should be completely cooked through by then but you should check just to be sure.

IMG_3049

And you’re done!  We had these with the classic kiddie favourite dips – ketchup and mayonnaise.

cornflake chicken strips

cooking, Food, recipe, Uncategorized

roasted miso chicken

I had never thought about cooking chicken with miso before but then I found this Nigella Lawson recipe in one of her books for a butterflied chicken with miso and sesame seeds.  This recipe is based off of that and with the flavours really dialled up.  This will give you really tasty chicken with solid miso flavour and also some sesame and garlic.  I used drumsticks this time because that’s what they had in the shop plus sometimes I’m too impatient to roast a whole chicken but you could do this with a whole chicken or chicken thighs too.

about 900 grams bone-in, skin-on chicken / 3 tbsp white miso paste / 1 tbsp soy sauce / 2 tsp sesame oil / 2 tsp fish sauce / 2 cloves garlic, minced

IMG_2810

Mix together the miso paste, soy sauce, sesame oil, fish sauce and garlic to make the marinade.  I did this in a glass baking dish but you could also use a large bowl or a large ziplock bag.

IMG_2811

Add in the chicken and make sure the chicken is all coated with the marinade.  Cover with clingfilm (or if using a ziplock, just zip it up) and put in the fridge to marinate overnight.

IMG_2813

When it’s time to cook, heat the oven to 425 F.  Place the chicken onto a roasting rack in a roasting tray.  Pro tip! Line the roasting tray with parchment first to make washing up a breeze.  I don’t always do this and then Rock nags me because I make him do the dishes.

IMG_2832

Pop into the oven for about 40 minutes, flipping the chicken over halfway through to make sure both sides of the chicken are nice and browned.  The chicken is definitely done when you check with a meat thermometer and get an internal temperature of 165 F.

IMG_2836

And then you’re done!  Plate up.  We had this with some calrose or sushi rice and a bit of sautéed shredded cabbage.

roasted miso chickenIMG_2840

Thai roast chicken
cooking, Food, recipe, Thai food, Uncategorized

Thai roast chicken

We picked up this cookbook Ready or Not!: 150+ Make-Ahead, Make-Over, and Make-Now recipes by Nom Nom Paleo by Michelle Tam and Henry Fong years ago at Costco.  Despite the fact that we are definitely not paleo nor do we strive to be!  We’ve flipped through it loads but definitely have not actually tried as many recipes from it as I’d like.  Since it’s one of the few cookbooks from our large collection that Rock decided to bring over to Saudi, I figure we should finally put it to use.

This recipe is super easy and uses just a handful of ingredients.  I always have Thai curry paste on hand but I only ever use it for curry (shocker!) so I thought I’d give this a shot.  The chicken turned out great and even the kids loved it!

Makes 4 servings.

1 cup full-fat coconut milk / 2 tbsp Thai curry paste (I used red but I think green would be  really good too!) / 2 tsp fish sauce / 1 tsp sea salt (adjust to taste) / 2 limes / 1 kg to 1.5 kg bone-in and skin-on chicken thighs

IMG_1456

Measure out the coconut milk in a measuring cup and then to that same cup just add the curry paste, fish sauce, salt, and the zest and juice of 1 lime.  Mix well to combine and you can give it a little taste to see if you want to add anymore salt.

IMG_1457

In a large ziplock bag or a large bowl, mix the chicken thighs with the marinade making sure to thoroughly coat the chicken.  Refrigerate for up to one day or if you don’t have time you can just keep going.  I think ideally though of course you give it some time to marinate – I started marinating mine in the morning for dinner that day.

IMG_1459

Heat the oven to 425 F (or 400 F on convection mode) and place the chicken on a wire rack on top of a rimmed baking sheet.  I have a roasting pan that comes with a wire rack that fits in it so I used that.  Arrange the chicken in a single layer with the skin side down.

IMG_1469

Roast in the oven for 20 minutes and then flip the chicken to be skin side up and rotate the pan 180 degrees.

IMG_1470

Roast for another 20 minutes or so.  The skin should be a bit browned and if you check with a meat thermometer, internal temperature should be 165 F.

IMG_1475

Plate the chicken and then sprinkle over the zest of your remaining lime.  We didn’t have any leftovers (…!) but the book says leftovers can be reheated, eaten cold or shredded for salads or soups which all sound like good ideas.

Thai roast chicken

chicken sausage rolls
appetizers, brunch, cooking, Food, recipe, Uncategorized

chicken sausage rolls

Back when I was in Darwin, Australia, I briefly worked at the best little pie shop ever and ate their sausage rolls probably everyday.  I have LOVED sausage rolls ever since! But in Saudi of course we can’t get any pork sausage.  Then awhile back, a friend dropped off some chicken sausage rolls that she made and I realized, I should’ve been making chicken sausage rolls this whole time!

I wasn’t that happy with my first attempt but I’ve been working on a recipe for awhile and THIS I am very happy with.  The chicken sausage is very flavourful and not dry at all.  I minced up chicken thighs with our Kitchenaid meat grinder but of course you can just use store-bought ground chicken.

Makes 15 sausage rolls or 45 bite-sized sausage rolls.

Sausage filling:  450 grams ground chicken (mince) / 1/4 cup bread crumbs / 1 tsp dried rosemary / 1 tsp dried basil / 1 tsp dried oregano / 1 and 1/2 tsp sweet paprika / 1 tsp onion powder / 1 and 1/2 tsp garlic powder / 1 tsp sea salt / 1/4 tsp ground black pepper / 1 tsp Worcestershire sauce / 1 and 1/2 tbsp cold water /

15 squares of frozen puff pastry, defrosted but still cold / 1 egg

IMG_1173

Preheat the oven to 400 F.  And then easy enough, combine all the ingredients for the sausage filling in a large bowl.  You can stir together or just mix with your hands until everything is mixed well together.

IMG_1176

Now start assembling the sausage rolls.  Place about 2 tablespoons of sausage filling just off-centre along each square of puff pastry.  Make sure to spread the sausage evenly from top of the square to the bottom.  In a small bowl, lightly beat the egg to make an egg wash.

IMG_1177

Tightly roll the pasty over starting with the side that’s closer to the filling.  Just before sealing, brush the bottom side of the pastry with the egg wash.  Keep rolling and then with the seam-side down, gently push down to seal the pastry.

IMG_1179

IMG_1180

If you want you can leave the sausage rolls whole but my kids prefer them when they’re more bite-sized.  So if you’d like to make bite-sized rolls, use a sharp knife and cut each roll into thirds.  Then, brush the top of each roll with egg wash.

IMG_1181

Bake for 25 to 30 minutes or until your pastry is nicely golden brown.

chicken sausage rolls

And enjoy!  Eat on their own or as we like to do, dip into some ketchup.

chicken sausage rolls

John's LEGENDary fried chicken
cooking, Food, recipe, Uncategorized

john’s legendary fried chicken

I love me some fried chicken so I’m kind of surprised I’ve never actually made fried chicken myself.  I always figured it would be a lot of effort with buttermilk, eggs, double breading or whatever… but then I watched John Legend making his “LEGENDary” fried chicken on Youtube and his recipe looked too easy!

A few things – I only used chicken thighs because well, fried chicken thighs are my favourite.  But of course you could use whatever chicken pieces you’d like.  Also, I only use a fraction of the cayenne powder in the recipe because I don’t want my kids complaining that it’s spicy.  And it’s recommended to brine this chicken overnight so that’s something to keep in mind.  I haven’t done that yet because I always forget but a minimum of 4 hours has worked for me.

Anyway, I’ve made this twice in two weeks already because Aymeric asks me every single day to make it!  He calls it “oil chicken” and basically has hearts in his eyes when he says it – that’s how good it is.

5 lbs (2.2 kg) chicken pieces (of course you don’t have to make this much chicken! I’ve used 1.5 kg of thighs and I think that’s perfect for 4 people.  Just adjust the recipe to use less of the spices and flour) / canola oil for deep frying

the brine: 6 tbsp seasoned salt salt / 2 and 1/2 tbsp garlic powder / 2 tbsp cayenne powder / cold water

the breading: 2 cups all-purpose flour / 2 tbsp seasoned salt / 1 tbsp cayenne powder

IMG_9993

First, brine the chicken.  Add the chicken pieces and the seasoned salt, garlic powder and cayenne for the brine into a large bowl.  Add enough cold water to cover the chicken and then slap some cling film over top and put it in the fridge for a minimum of 4 hours but ideally overnight.

IMG_9995

When you’re ready to fry up some chicken, heat up the canola oil to about 350 to 365 F in a dutch oven or a deep fryer.  I have a deep fryer back in Canada which makes deep frying sooo easy but here we just use a dutch oven – in this case, just add enough oil for the chicken to be submerged.  If you have a candy thermometer you can check the temperature but if you don’t have one, I find putting the dutch oven over medium-heat to give a close temperature.

Now, time to bread the chicken.  Add the flour, seasoned salt and cayenne for the breading into a large ziplock bag.  Then add the chicken pieces, in small batches (I did 4 or 5 pieces at a time) into the bag, zip it up and shake shake shake until the chicken is all coated.

IMG_0001

Fry the chicken until golden-brown to brown and the chicken is cooked through.  You can check with a meat thermometer if you want to be sure (that would be 165F).  For thighs, I found 18 minutes to be perfect.

IMG_0002

After frying, drain any excess oil off the chicken on a paper towel-lined plate.

IMG_0004

And just keep going until you’ve fried up all your chicken and then enjoy!  Chicken is super juicy, flavourful and crispy. Perfect!

John's LEGENDary fried chicken


Las Margaritas burrito
cooking, Food, recipe, recipes, Uncategorized

las margaritas burrito

Whenever I’m home in Vancouver, I try to go to my favourite Mexican joint, Las Margaritas.  And my favourite dish to order when I’m there is their burrito, which is a large flour tortilla filled with shredded chicken and cheese and then covered with a delicious red sauce, more cheese and some sour cream.  I’ve put together this copycat recipe to tide me over until the next time I get to have one of these bad boys.

The only flour tortillas I can get my hands on here in Riyadh aren’t great and are pretty small but ideally you’d use large soft flour tortillas.  Alternatively, you could make enchiladas using small corn tortillas!  I don’t know exactly what the red sauce the restaurant uses is, but I made an adapted version of an enchilada sauce I found off a blog called Cookie and Kate and I found that to be pretty similar in taste (at least from what I can remember – it’s been a while!)  And as for the chicken, I find poached chicken to give the nice soft, shredded chicken I’m after and I use Anthony Bourdain’s method for poaching.

Makes 4 large burritos (or 6 smaller Saudi-sized tortilla burritos!)

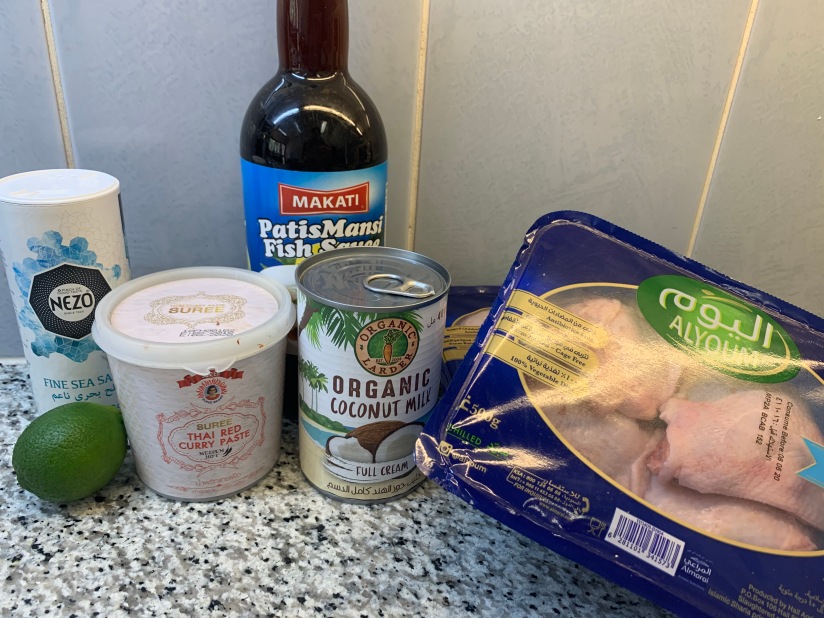
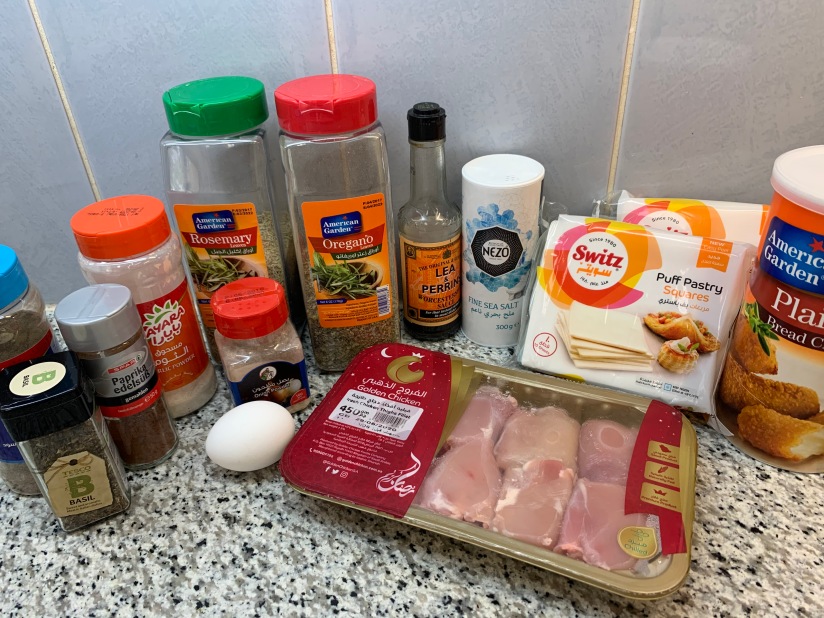
Red sauce: 3 tbsp olive oil / 3 tbsp all-purpose flour / 1 tsp ground chili (you could add more but my kids love complaining about ‘spicy’ lately so I’m keeping it mild) / 1 tsp ground cumin / 1/2 tsp garlic powder / 1/4 tsp dried oregano / fat pinch of cinnamon / 2 tbsp tomato paste / 2 cups chicken stock / 1 tsp apple cider vinegar / ground black pepper and salt to taste

For the shredded chicken: 4 chicken breasts / 1/2 tsp sea salt

4 large flour tortillas / 1 cup shredded cheddar cheese / 1 cup shredded mozzarella cheese / 1 cup shredded Monterey Jack cheese / 2/3 cup Greek yogurt or sour cream thinned down with about 1 tbsp of cold water

IMG_9898

First, preheat your oven to 375F and then move onto the red sauce. Heat up the olive oil in a saucepan over medium heat and then mix in the flour, chili, cumin, cinnamon and oregano.  Let this cook, while stirring, for about one minute.

IMG_9902

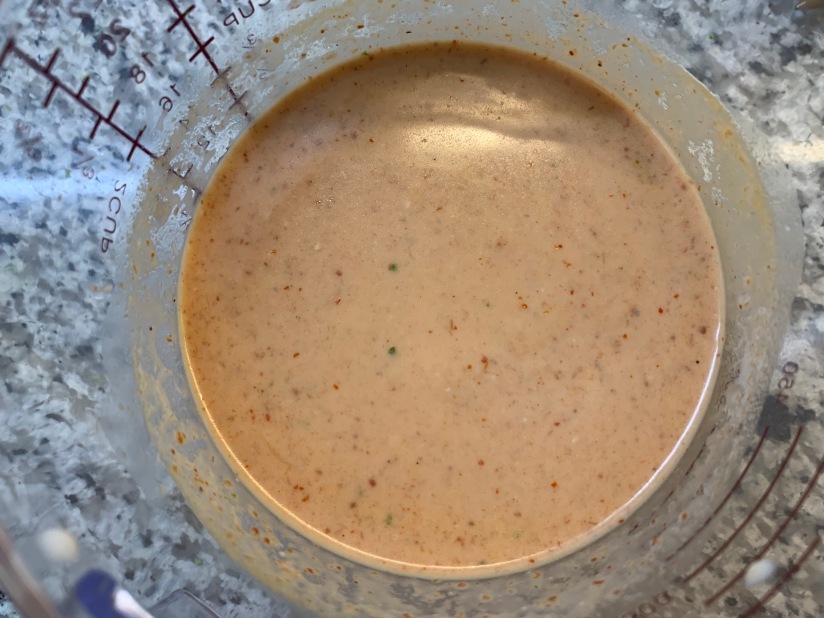
Mix in the tomato paste until incorporated and then stir in the chicken stock.  Adjust the heat as needed to keep the sauce at a simmer and let it cook, giving it a stir frequently, for about 5 to 7 minutes or until the sauce has thickened up a bit.  Stir in the vinegar and season to taste with salt and pepper.  I’ve just got chicken stock cubes on hand which are pretty salty so skip the salt if you’re using similar.

IMG_9904

And the sauce is done!  Toss a lid on and keep it on the lowest heat, just to keep the sauce hot while you move onto the rest.

Put your chicken breasts and the salt into a medium saucepan and cover with cold water.  Turn the heat up to high to bring the water to a boil and then immediately reduce to a simmer.  Let the chicken cook at a simmer for 10 minutes.  Then, turn off the heat completely and cover the pot with a lid and let it sit for a further 10 minutes.  When the chicken is finished cooking, drain all the liquid and shred with 2 forks.

IMG_9905

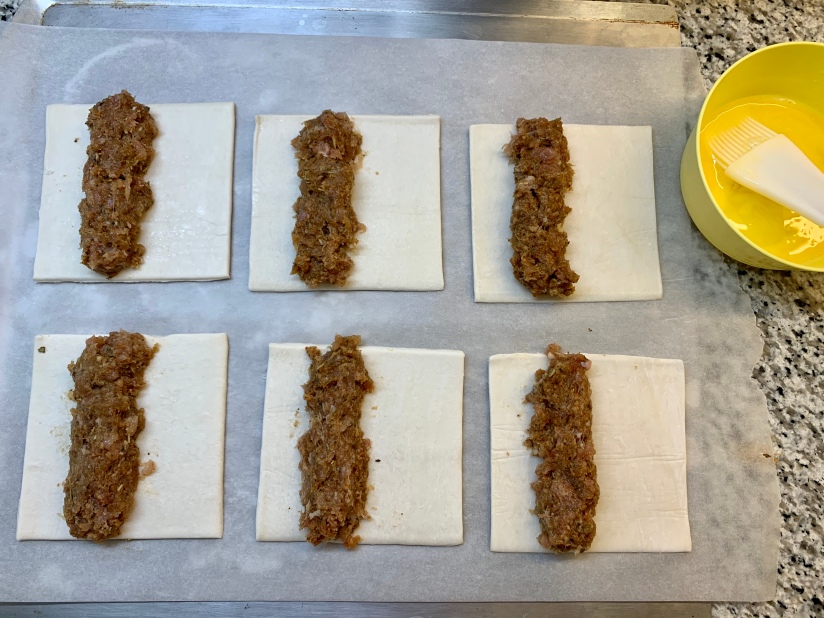
Cover the tortillas with a damp dish cloth and microwave for about 10 to 15 seconds, just to soften them up.  Now to assemble your burritos.  Spoon some of the red sauce over each tortilla and then put 1/4 of the shredded chicken down each tortilla, just slightly off-centre.  Mix the 3 cheeses together and set aside roughly 1/4 cup for later.  Add 1/4 of the remaining cheeses on top of the chicken for each burrito.

IMG_9906

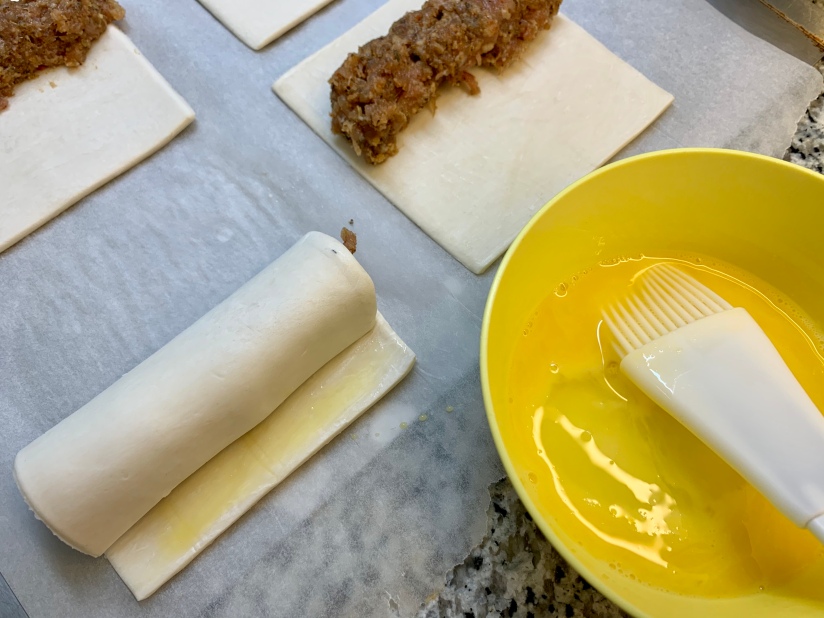
Roll the tortillas up burrito style and place onto a baking sheet or roasting pan with the seam side down. Repeat with the other tortillas.

IMG_9907

Cover with aluminum foil and bake for about 15 to 20 minutes – you want everything well heated through and the cheeses all melted.

Plate each burrito and ladle over the red sauce.  Then sprinkle over some of the remaining cheese mix.  Finally, drizzle over some of the yogurt or sour cream on top – I like to use a squeeze bottle just to make it look nice but you can always just spoon it over.

IMG_9918

* If you want to make enchiladas instead using corn tortillas, simply top with the sauce and cheese before baking.

I’ve made these twice in two weeks and I’m really happy with how they turn out!  I miss Las Margaritas (and home in general) but at least I can make these in the meantime.

thai chicken biryani (khao mok gai)
cooking, Food, recipe, recipes, Thai food, Uncategorized

thai chicken biryani (khao mok gai)

I found this recipe in Lonely Planet’s Thailand: From the Source cookbook (yes, LP has a few cookbooks!) and we are now all obsessed with this dish.  It’s a southern Thai meets Indian dish where the chicken is braised in rice with turmeric and spices and this specific recipe calls for a generous scattering of deep fried shallots over top.  SO GOOD!!!  Even my increasingly picky toddler was going to town on this. (Although, he wouldn’t eat the shallots ‘cus he said they were ‘octopus’ – you can’t win em all!)

A few things I did different: There’s a recipe for a chilli dipping sauce included but I skipped it and just used store-bought Thai sweet chilli sauce.  I also used coconut milk instead of unsweetened evaporated milk and used de-boned chicken thighs instead of entire chicken legs.  Just though it would make my life a bit easier but if you want, the original recipe calls for 3 chicken legs with the skin removed and cut into big chunks (whatever ‘big’ means, I dunno!)

Serves 4

~700 grams skinless boneless chicken thighs, cut into roughly 1 inch pieces  /  2 tsp curry powder (I used Indian curry)  /  1 tsp ground turmeric  /  1 tsp ground coriander  /  1/2 tsp ground cumin  /  1 tsp ground cinnamon  /  1 tsp salt  /  1 tbsp sugar  /  2 bay leaves  /  200 ml coconut milk  /  1 and 1/2 tbsp butter  /  2 cups jasmine rice, rinsed and drained  /  2 cups water  /  canola oil for frying  /  300 grams shallots, very finely sliced (this seems like a lot but it’s really not after frying)  /  pinch of salt

IMG_3425

Mix the spices, salt, sugar, bay leaves and coconut milk in a large bowl.  Mix the chicken in and let it marinate for at least 15 minutes.

IMG_3426

In a frying pan or a wok, melt the butter over medium-high heat and then add the chicken, including the marinade.  Fry for about 10 minutes or until the chicken is juuuust cooked.  Transfer to a bowl.

IMG_3428

I replaced my rice cooker with an Instant Pot so I used that but you can of course use a rice cooker or cook on the stove top.  Add the washed and drained rice to the Instant Pot and then put the chicken and sauce on top.  Then add the water and using the manual setting, set it to high pressure for 3 minutes.  When the 3 minutes are up, let the steam naturally release for 10 min.   If you’re cooking on the stove top, bring to a boil and then cover with the lid and turn the heat to low.  Cook for 20-25 minutes until the rice is cooked.

IMG_3433

While the rice is cooking, fry the shallots.  In a frying pan or a wok over medium heat, add just enough oil so that you can deep-fry.  Toss the shallots with the salt in a bowl and then squeeze out as much liquid as you can.  When the oil is hot, fry the shallots in batches for about 1 to 2 minutes until crispy.  When each batch is done, transfer to a plate lined with paper towel to drain any excess oil.

IMG_3427IMG_3430

Plate up the rice and chicken, scatter the fried shallots over top and serve with a small bowl of sweet chilli sauce on the side.  Again, SO GOOD!

thai chicken biryani (khao mok gai)

cooking, Food, recipe, Uncategorized

paprika chicken and rice bake

The local organic foods market here posted an interesting looking recipe from Buzzfeed on Facebook today and I figured I’d try it out!  I love absentmindedly browsing Buzzfeed but have never tried one of their recipes before.  Wasn’t particularly feeling confident it would work… but it turned out great!  I used mostly the same ingredients but changed all of their measurements.

The original recipe said 5 thighs feeds 5 people but pretty sure I would still be hungry after that!  I’ll say this would feed 2-4.

6-8 skin on, bone in chicken thighs  /  2 tbsp paprika (preferably a good Hungarian paprika!)  /  1 tbsp dried parsley /  1 and 1/2 tsp salt  /  1 and 1/2 tsp cracked black pepper  /  ~ 1 tbsp olive oil  /  1/2 yellow onion  /  4 cloves garlic  /  1 cup rice (right now we really like this sprouted rice & quinoa blend that you can pick up from Costco)  /  1 and 3/4 cup low-sodium / no salt added chicken broth (you’ll need to adjust the amount of broth depending on what kind of rice you are using! just use however much liquid the package says to for 1 cup)  /  optional extra pinch or two of salt for the rice

img_0950

Preheat the oven to 400 and in a large mixing bowl, toss the chicken together with the paprika, parsley, salt and pepper.

img_0952

Set a dutch oven or other oven-proof pot on the stove at medium to medium-high heat.  Add the olive oil and when that’s heated up, place the chicken thighs in skin side down and let them brown up for about 5 minutes.  In the meantime, dice up your onion and mince the garlic.  Flip the thighs over and let the other sides cook for another 5 minutes and then remove from the dutch oven.  Add the onion and garlic to the dutch oven and cook until the onions have softened up a bit.

img_0954

Stir in the rice, chicken broth and if you want, extra salt, to the onions and garlic and let it come to a boil. Then place the chicken thighs back in on top of the rice, pop the lid on and slide the whole thing into the oven.

img_0955

Now you just have to be patient and let it bake away for about 35 minutes.  Then dig in!

img_0958